Hoop House

photo 5
So, I built a hoop house a few weeks ago in hopes to start my garden early, but I didn’t want to post anything about it in fear of failure. After several frosts and a couple inches of snow, I think it’s safe to say this hoop house was a success!!

To attach the hoop house to the existing raised bed, we screwed larger PVC piping to the bed frame. We used 1/2″ PVC for the skeleton, and 3/4″ PVC for the anchor. I first pounded the anchor in the ground until flush with the bed frame, and then we attached the anchor with screws and attachment. When assembling the hoop house the pipes fit perfectly and slide right into the anchors and have good stability. I have seen this done many ways, but we were going for cheap, efficient, and easy.
photo 5 (1)photo 4 (1)Once all the “ribs” were in, they were still flimsy, so we attached a “sternum” on top by drilling a hole and then bolting them together. (Pardon my anatomy referencing, I am a nurse, you know!) This really strengthened the hoop house. *Note: drilling pvc pipe and then bending pvc pipe puts too much stress on it and caused it to bend with a peak rather than a smooth curve. Not sure how that could have been prevented, but I’m not too worried.

photo 2 (1)

To attach the plastic covering, we just screwed some scrap wood to the bed frame with the plastic in between. Not the most aesthetic, but serves its purpose. The other end of the plastic was stapled to a long board. Now if we want the plastic off all we have to do is roll it up over the board. *I’m terrible at explaining things like this, so hopefully the pictures can do what I can’t.

photo 3 (1)

photo 1

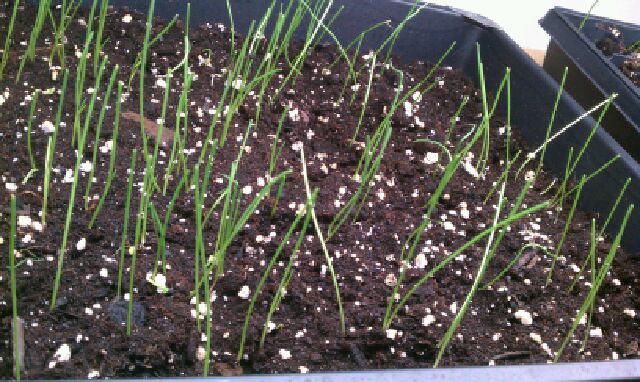
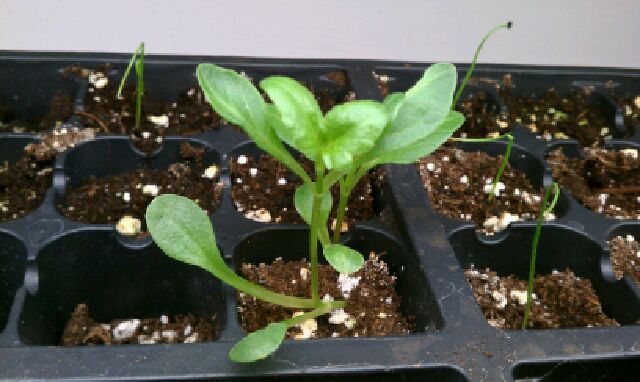
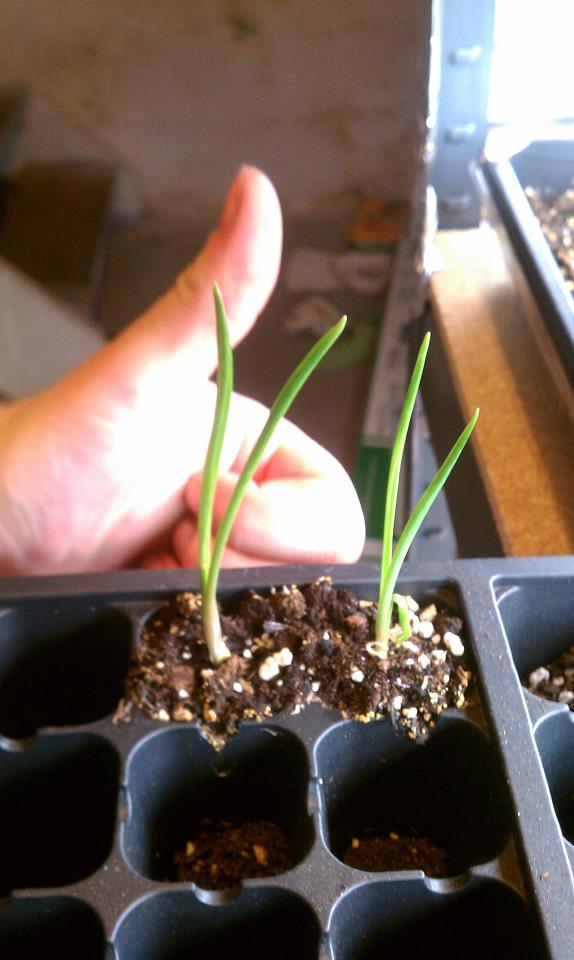
Broccoli, cabbage, and leek seedlings survived temperatures below 25 degrees, and radish, kohirabi, bok choy, kale, spinach, and lettuce seeds have all germinated and are looking good!
photo 1 (1)
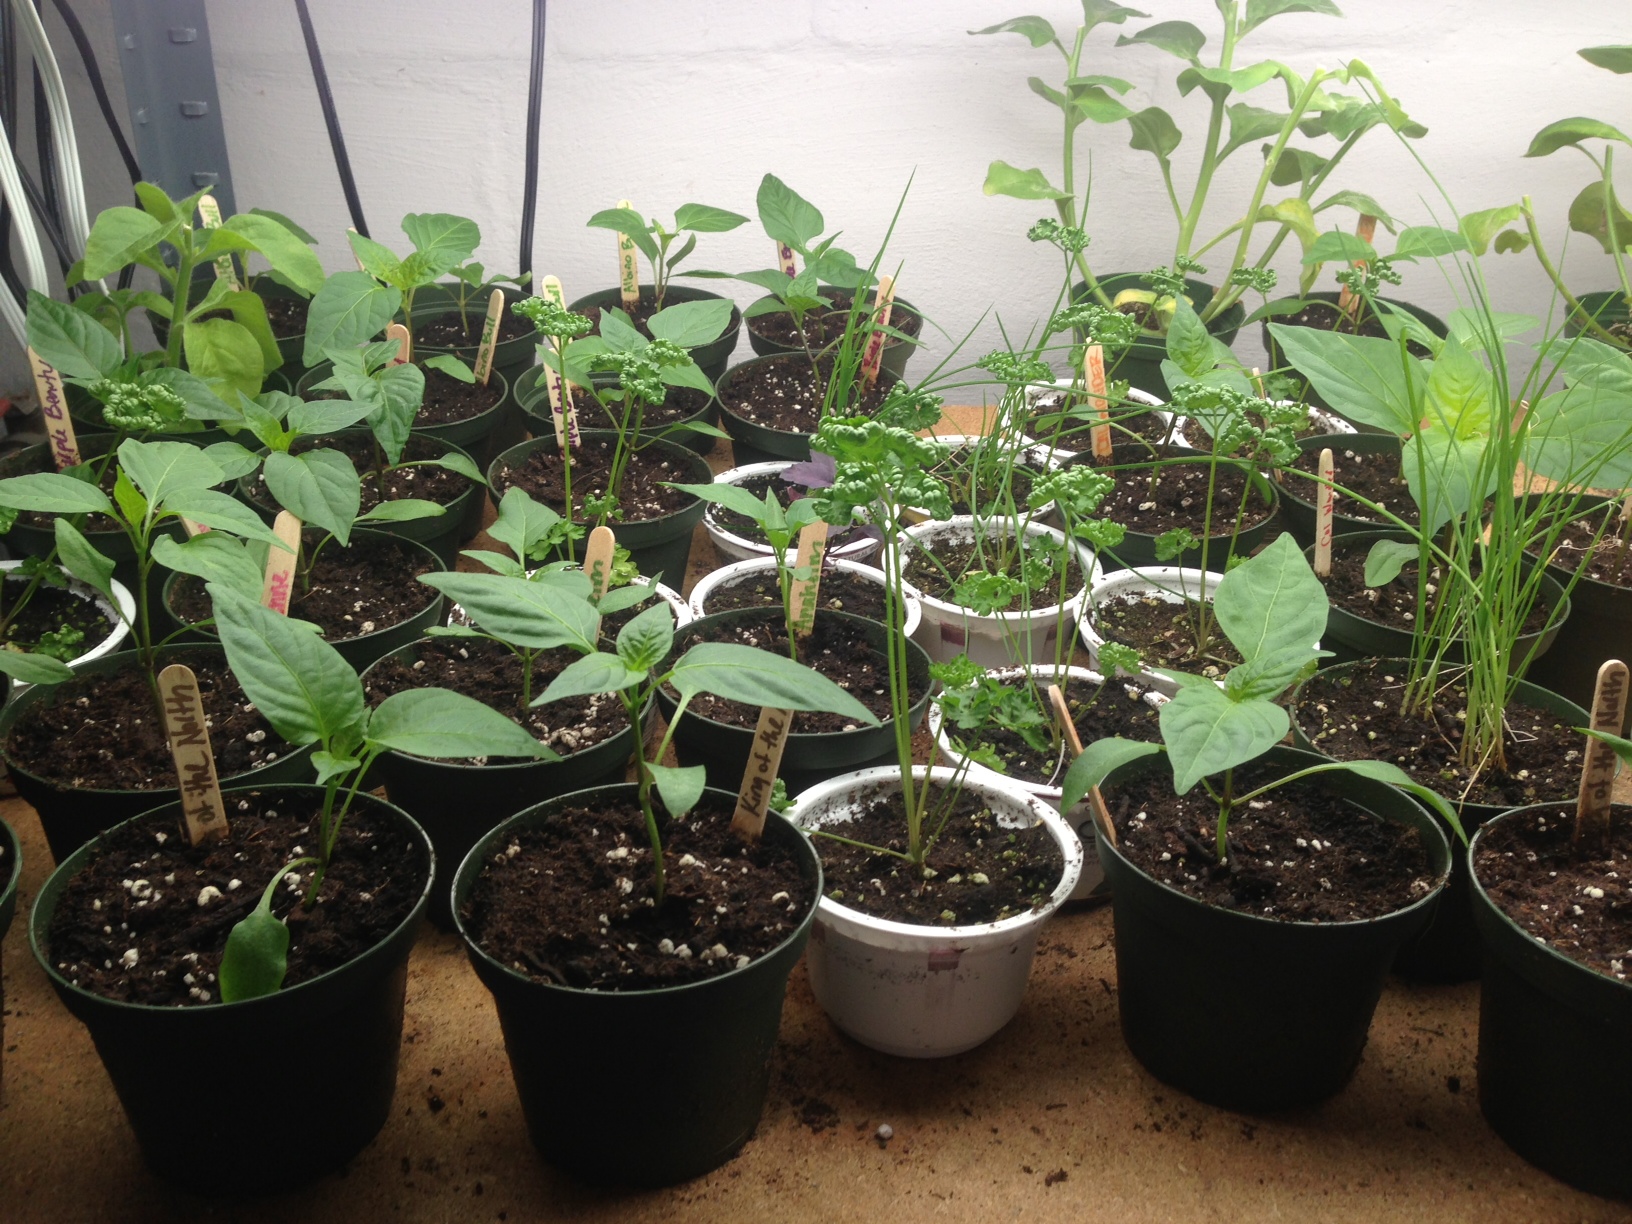
Tomatoes, peppers, eggplant, basil, and parsley seedlings inside doing soooo well!! They’ll be in the ground soon, can’t wait!

Warm Thoughts

It’s officially been spring for a few days, and like a bear awaking from hibernation, I can start to feel the change in seasons. It has been an extreme winter, hasn’t it? Not to brag, but the weather channel listed Toledo, OH as the worst weathered city this winter, and that’s not far from where I live. Tons of snow, tons of bitter cold days. Even today it snowed for a few minutes leaving no more than an inch accumulation. The good news? It won’t last!! The promise of spring is so enlightening.

Even though I haven’t been on the “blogging scene” much lately, I promise you I haven’t been slaking on my garden adventures. I have been prepping for this year’s garden since January, and my seedlings are starting to get big. Check out these pictures! I have many more varieties than I did last year, and I’m planning on having more plants too (assuming they all survive).

photo 1 (7)

Cabbage and broccoli ready to be transplanted!! Also some basil seedlings in the yogurt cups.

photo 2 (10)

Hopefully I have better luck this year with onions. I’m trying intermediate varieties. These should do better in my location, I think?

photo 3 (7)

photo 4 (3)

Peppers and eggplants, 1 month old.

photo 5 (2)

Tomato seedlings one week old.

I have plans for a hoop house over one of the raised beds and more gardens in the front yard. This is going to be a great year, so keep in touch and hopefully the garden grows as well as it did last year! Everyone keep thinking warm thoughts!!!!!!!!!

Last Seedling Update

Just a quick update on the plants, sorry for the lack of updates. Everything is ready to be put in the ground. I’m just waiting a few days more to save them from a random frost. Our beds are coming along nicely, pictures to follow. We’re building the frames now and then we’ll fill them up with soil. I can’t wait for all my seedlings to get in the ground.

Pepper and herb seedlings, ready to be transplanted.

Pepper and herb seedlings, ready to be transplanted.


As seen from the last post, my poor peppers didn’t make it, so I replanted and the second time they’ve done fantastic. Here they are 3 weeks old. I just transplanted them into these pots, and they’re loving the extra root-space. All sorts of sweet and hot pepper varieties are in the mix. Also some herbs (parsley, chives, and basil).

photo (1)

Here are all my tomatoes! I don’t know what I was thinking because I’m only gonna use about half of these guys. I’m planning on giving some to the neighbors and friends. 🙂

Success and Failure


I thought I’d give a little update on my seedling operation. Without doubt, I started some of my plants too early… mostly because I was too anxious to get started with the new experience of gardening. Here are some petunias I’ve grown. Most of them are flowering. Purples, pinks, whites, lavenders, and the like. I’m considering pruning them. Does anyone have experience with pruning flowering seedlings?

Image04122013130744

These seedlings were planted back in February. They’ve been growing in %25 worm castings and have done great! I hope they continue to grow. Do you think pruning them would be beneficial? I’d love to have the massive, full plants you see in magazines.


A few weeks ago I started a flat of peppers, and easily said, they have been my worst seedlings yet. Most of them are curling up and look very dry. I’ve been fairly religious about my watering habits, so I don’t know what happened with them. Good news is that I have started a second flat of peppers and they seem to be doing better.

These pepper seedling failures are all currled up and look dry even with (assuming) adequate watering. Any diagnosis suggestions?

These pepper seedling failures are all currled up and look dry even with (assuming) adequate watering. Any diagnosis suggestions?

Now check out these tomato plants! They were planted the same time as the peppers in the same peat-pods. Compared to the peppers, the tomatoes have responded very positively. I even had to transplant them to give them more room. Here are about half of them. Again, I had poor judgement on quantity. As a first year gardener, I have little knowledge of how much to plant… “Hey! This looks good, but just to be safe let’s plant 4 more.”

Tomatoes!!!!

Tomatoes!!!!

I’ve found it very handy to use old yogurt cups as transplanting pots. This basil seems to be enjoying it.

Image04122013131232

Use old yogurt containers as transplanting pots!!

In a week or two I plan to starting putting plants in the ground. Anyone else anxious for Spring’s arrival?

Seedling Update

IMAG0265

What used to be 2 layers of seedlings is now 3. As the temperatures begin to thaw, our gardening project begins to come into focus. We’ve even begun to dig our beds. (More on that later). Our seedlings are taking off. The official list now is: onions, leeks, broccoli, parsley, basil, thyme, oregano, lavender, sage, chives, eggplant, several varieties of peppers, tons of tomatoes, petunias, snapdragons, cosmos, calendras, and dahlias (I think). Enjoy a few pictures.

IMAG0281

The petunias are finally getting bushy. Expecting a bloom before long!

IMAG0280

Tomato seedlings just a few days old.

IMAG0277

Pepper seedlings about a week old.

Sprouts!

Thank God January is over. I hate the bitter cold, middle of winter. Only one more month to go! Even though all life outside is frozen right now, you wouldn’t know it in our basement. We’ve got quite the growing station going now including onions, some varieties of flowers, leeks, broccoli, and garlic.

Onion Flat #2: One week old.

3 weeks old

Onion Flat #1: 3 weeks old

Onions… we have so many onions growing. Half are a red onion variety, Brunswick, and the other half are a yellow variety, Stuttgarter. Both are supposedly good for storing. I hope so because if these do well there will be a lot of onions to harvest. I’ve read they need to be transplanted to larger/deeper pods when the 3rd leaf comes. Is this true? Right now Flat #1 has 2 leaves per plant.

Dahlias, 3 weeks old

Dahlias, 3 weeks old

I started just a few flowers because I knew nothing about starting flowers from seed. There is quite a bit of information about starting vegetables from seed online, but the same can not be said about starting flowers, so I started a few to see how fast they grew and the get an idea of when I would have to start them this spring. Now I know that Calendras and Dahlias grow quickly, and Petunias and Snapdragons grow very, very slowly.

*I’ve found that its a good generalization that teeny-tiny seeds germinate into teeny-tiny seedlings. Who would have guessed?!

Broccoli, one month old

Broccoli, one month old

Broccoli, I know, starting broccoli this early was completely foolish. Here they are with 3 or more true leaves, ready to be in rich, warming, early spring soil, and its February 3rd with 4 inches of snow on the ground. I just couldn’t contain myself. We’ll see how big they get. I may have to start over with them, but don’t they look good. I ate a few of the extra seedlings and they were extra sweet and tasty. Lesson learned: broccoli need 4-5 weeks and then they’re ready for transplanting.

Garlic!

Garlic!

We had a couple cloves of garlic that were sprouting and no good in the kitchen so we covered them up with soil and gave them a good water. A week later and this is what we’ve got. My plans are to put them in a pot and harvest in a month or two. No more buying garlic!!!

It’s begun.

I’ve officially started my seeds. I first started a flat of onions. The first few days I used a couple fluorescent light bulbs as the only supply of heat in our abnormally cold basement. Even though I had read that onions take up to 2 weeks to sprout, I knew they would never germinate sitting in cold, wet soil. So, I bought a few heating pads. They weren’t too expensive; just a good investment. I would definitely recommend it unless you are growing in a warmer area. My flats have been at 70-75 degree average and nearly all have sprouted. Image

Onion seeds should be started a couple months before you plan on planting them outdoors. This way, your seedlings will basically be the same size as “sets” that you buy from a gardening center in the spring. Fill a tray with your starting soil mix (I used organic soil-less potting mix and worm castings), sprinkle a packet of seeds across the top, lightly cover the seeds (no more than 1/4 in), and water thoroughly. I covered my tray with a plastic covering. This helps hold in moisture and humidity, which helps the seeds germinate faster. Also, you really don’t have to water the tray very often.

Happy Gardening!!